Getting Started with Trezor: A Comprehensive Guide to Trezor.io/start and Trezor.io/support
Trezor is a leading hardware wallet that provides robust security for storing cryptocurrencies. Whether you're new to the world of crypto or an experienced enthusiast, setting up your Trezor device correctly is crucial to ensure your assets remain safe. This guide will walk you through the steps for setting up your Trezor using Trezor.io/start, and provide valuable information about Trezor.io/support for troubleshooting and assistance.
What is Trezor?
Trezor is a hardware wallet designed to store and manage your digital assets securely. Unlike software wallets, which are vulnerable to hacking, Trezor hardware wallets store your private keys offline, offering a higher level of protection against cyber threats.
Trezor's devices, including the Trezor Model T and Trezor One, are considered some of the most secure options in the cryptocurrency world. They support a wide variety of cryptocurrencies and provide a user-friendly experience, making them suitable for both beginners and advanced users.
Step-by-Step Guide: How to Set Up Your Trezor Using Trezor.io/start
1. Unbox Your Trezor Device
When you first receive your Trezor hardware wallet, carefully unbox it. Ensure that the device is in its sealed packaging. The packaging should include:
The Trezor device
A USB cable
A recovery seed card
User manual
Important: Always check that the package is sealed. If it’s already opened, the device may have been tampered with.
2. Visit Trezor.io/start
To begin setting up your Trezor wallet, go to the official Trezor website by entering Trezor.io/start into your browser. This will lead you to the official setup page, where you can initiate the process of setting up your device.
Ensure that you are on the correct website (look for the .io domain) to avoid phishing scams. It’s always recommended to type the website directly rather than clicking on links from external sources.
3. Connect Your Trezor Device to Your Computer
Once you are on the Trezor.io/start page, connect your Trezor device to your computer using the included USB cable. Your Trezor device will automatically be detected, and you will be prompted to begin the setup process.
4. Install Trezor Bridge (If Required)
Trezor Bridge is a small software component that allows your Trezor device to communicate with your browser. Depending on your system, you may be prompted to install Trezor Bridge before proceeding. The website will provide clear instructions on how to do this.
5. Choose a PIN Code
During the setup process, you'll be asked to create a secure PIN code. This PIN will be required every time you use your Trezor device, adding an extra layer of security. Make sure to choose a unique PIN that is not easily guessable.
6. Write Down Your Recovery Seed
After setting your PIN, Trezor will generate a recovery seed—a series of 12 to 24 words. These words act as a backup for your wallet and allow you to restore your funds in case your device is lost, stolen, or damaged.
Important: Write down your recovery seed on the provided card and store it in a safe, offline location. Never store it digitally or online to avoid the risk of hacking.
7. Complete the Setup
After writing down your recovery seed, you will be asked to confirm it by entering the words in the correct order. Once confirmed, your Trezor device is officially set up and ready for use.
Using Trezor for Crypto Management
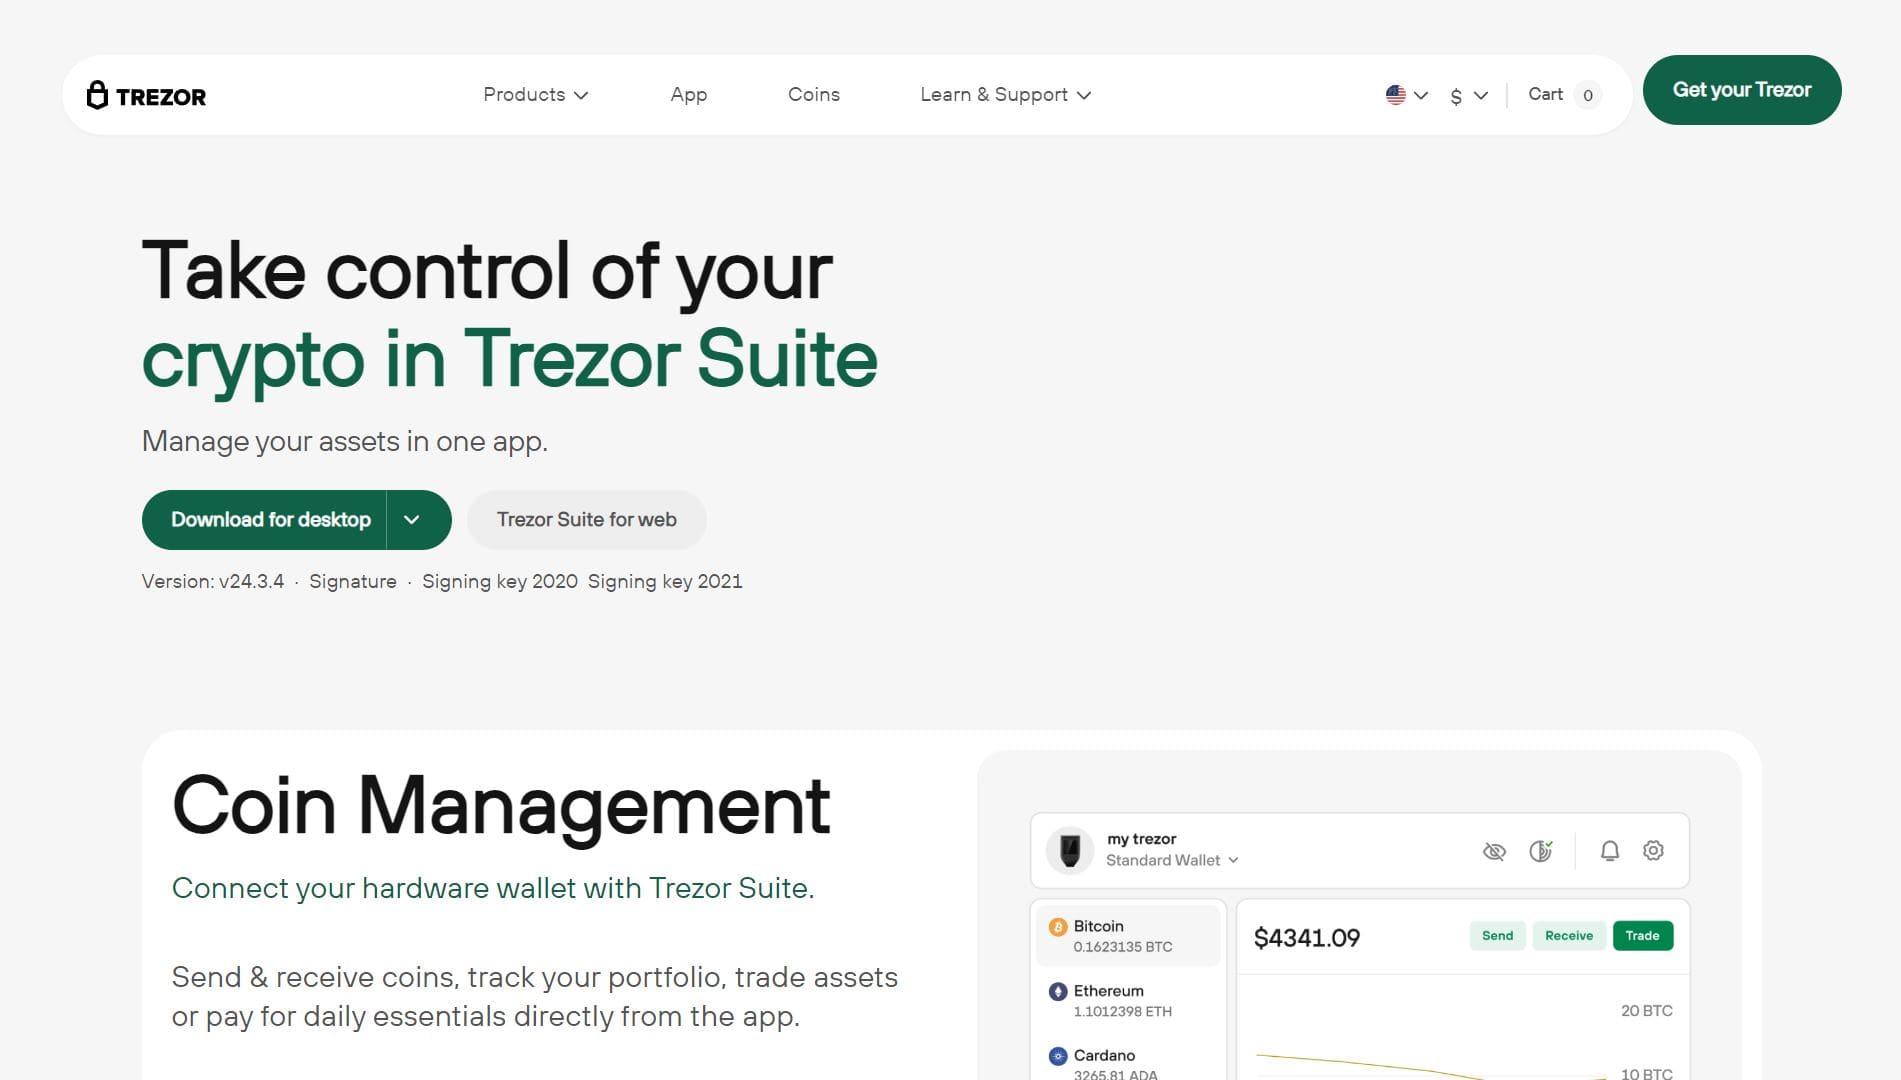
Once your Trezor is set up, you can use it to manage a variety of cryptocurrencies, including Bitcoin, Ethereum, and many others. Trezor’s interface is intuitive, allowing you to easily send, receive, and monitor your digital assets.
To manage your crypto portfolio, you'll need to use the Trezor Wallet—a web-based application that interacts with your Trezor device. Simply visit wallet.trezor.io and connect your device to begin using it.
How to Use Trezor.io/support for Assistance
Despite Trezor’s user-friendly setup, you may encounter issues or have questions along the way. Fortunately, Trezor provides comprehensive support through Trezor.io/support. The support page is designed to help you troubleshoot common problems, provide answers to frequently asked questions, and guide you through advanced features.
Accessing Trezor Support
To get help, go to Trezor.io/support and search the knowledge base for solutions to your issue. The support site includes articles on:
Device setup: Troubleshooting steps if you encounter problems during installation.
Recovery: Instructions on how to restore your wallet using your recovery seed.
Security features: Tips on maximizing the security of your Trezor device.
Troubleshooting guides: Solutions to common technical problems.
Trezor Support via Email or Chat
If you can’t find a solution in the knowledge base, Trezor offers direct support via email and live chat. Their support team is responsive and can help resolve issues such as device malfunctions, setup errors, and wallet recovery problems.
Firmware Updates
Trezor regularly releases firmware updates to improve functionality and security. If you’re experiencing bugs or compatibility issues, checking for a firmware update through Trezor.io/start might be a quick solution. Always make sure your device’s firmware is up-to-date to ensure maximum security.
Why Choose Trezor?
Trezor offers several benefits that make it one of the best hardware wallets available for cryptocurrency users:
1. High-Level Security
Trezor’s offline storage makes it immune to online attacks like hacking and phishing. With its advanced encryption technology and secure PIN protection, your crypto assets are safeguarded at all times.
2. Wide Cryptocurrency Support
Trezor supports a vast array of cryptocurrencies, including Bitcoin, Ethereum, Litecoin, and many others. It also allows users to store multiple cryptocurrencies on a single device, making it a versatile tool for managing digital assets.
3. Easy-to-Use Interface
The Trezor wallet interface is designed to be user-friendly, even for beginners. The process of sending and receiving cryptocurrencies is simple and intuitive, and the Trezor.io/start page provides clear instructions to guide you through every step.
4. Backup and Recovery Options
The recovery seed ensures that your funds are never lost, even if your Trezor device is damaged, stolen, or lost. This feature offers peace of mind knowing that you can always restore your assets.
5. Regular Security Audits
Trezor is regularly audited by independent security researchers, ensuring that its devices meet the highest standards of security and reliability.
Conclusion
Getting started with your Trezor hardware wallet is simple when you follow the steps outlined on Trezor.io/start. Whether you're setting up your device for the first time or need troubleshooting assistance, Trezor.io/support provides valuable resources to help you every step of the way.
By choosing Trezor, you’re taking a significant step toward securing your digital assets. With its high security, ease of use, and excellent customer support, Trezor is the ideal choice for anyone serious about safeguarding their cryptocurrency portfolio.